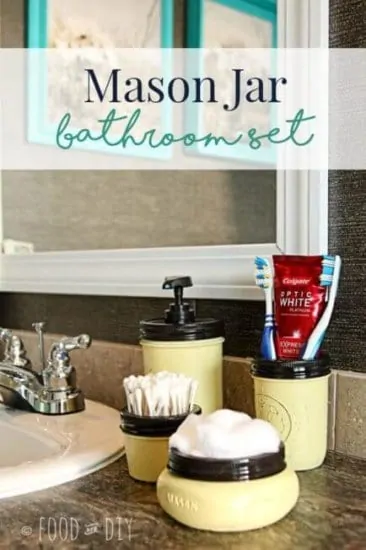
Mason Jar Bathroom Set
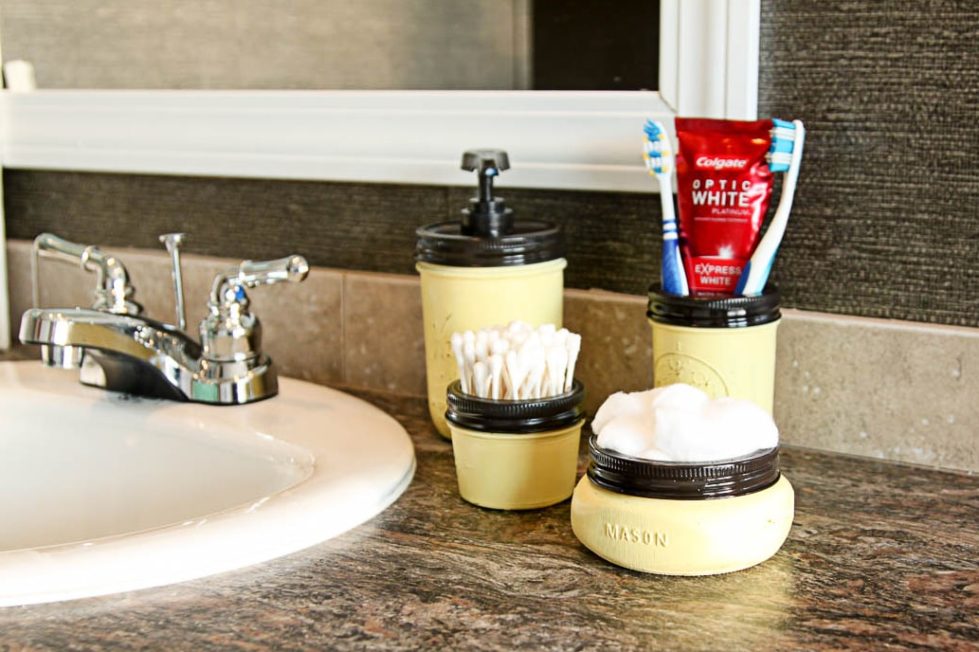
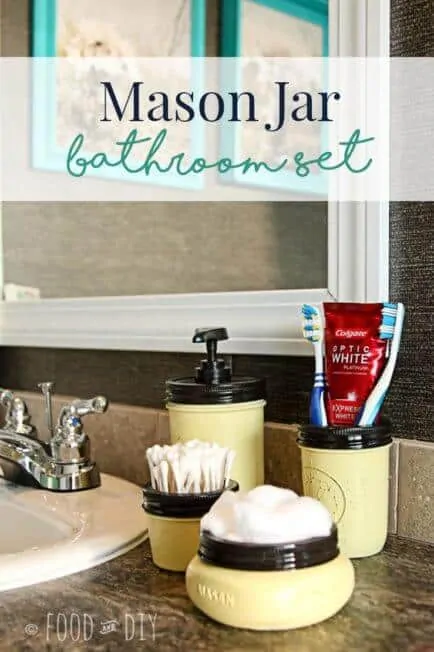
It is SO SO SIMPLE to make this Mason Jar Bathroom set! It literally only takes a couple of steps! Such a cute way to add some farmhouse flair to your bathroom.
HOW CUTE IS THAT?!
I used 4 different sizes that I had literally just laying around the house. One used to house and herb plant, 2 of them my family bought me for blogging, and one of them used to have homemade jelly/jam in it!
For the soap/lotion jar, I used an old pump from a different lotion jar. I had my husband drill a hole in the lid, slid the pump into that, then I super glued the pump down onto the lid. I spray painted them in two parts but you could do it either way. I completely forgot to shoot photos of that step. WOOPS!
If you like this simple project you might want to sign up here —> https://landing.mailerlite.com/webforms/landing/w9m3x9 so that you don’t miss any new DIY projects!
How to make this Mason Jar Bathroom Set
Alright let’s get to it, shall we?
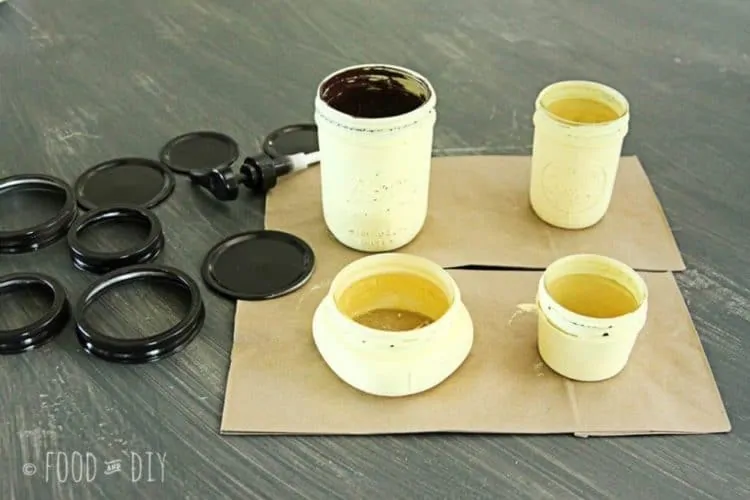
Gather your supplies. For the rings I used a spray paint that looks a lot like oil rubbed bronze, you can, of course, use whatever color you’d like. For the jars themselves, I used a light, bright yellow chalk paint I picked up at Hobby Lobby. (This post is NOT sponsored in any way) I used sponge brushes to apply the paint to my jars.
Also, as you can see it doesn’t matter if your jars are already painted or not.
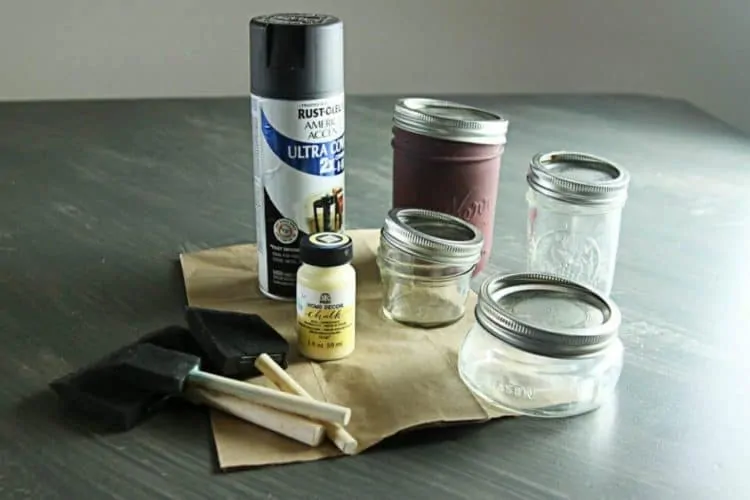
I laid my jars out on a couple of brown paper lunch bags to protect my dining room table from the paint.
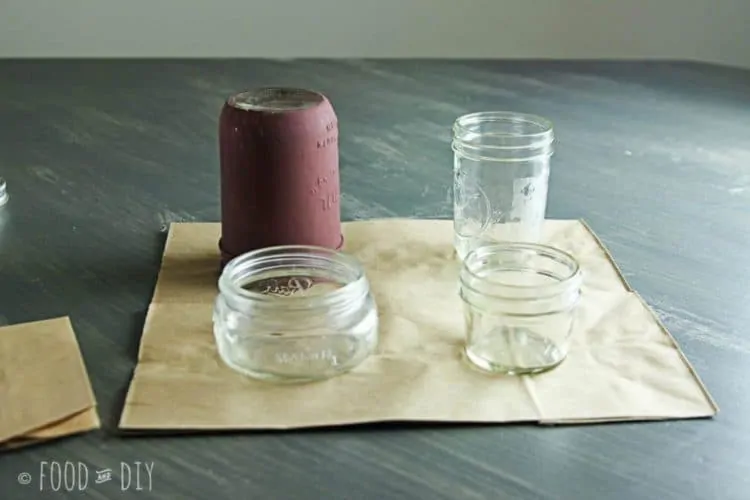
I used another brown paper bag to squirt out some of the yellow paint. Apply the paint uniformly to the jars. I started on the bottom and using long even strokes, brushed toward the top. Then I went around the jar threading.
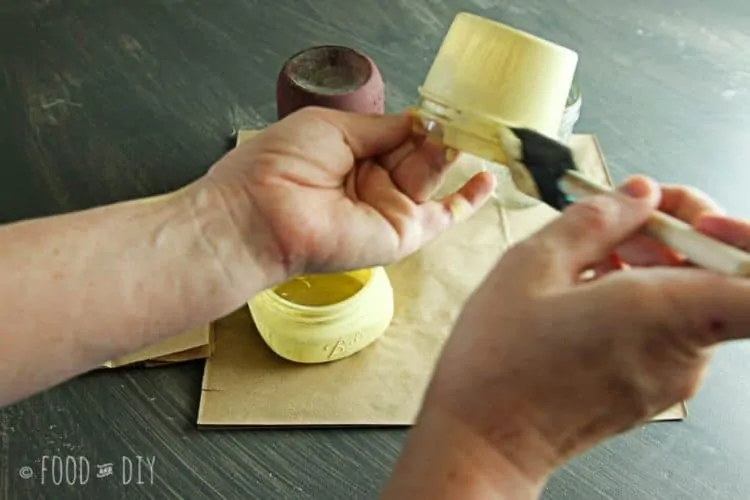
The chalk paint covers well so it didn’t matter that one of my jars had been previously painted.
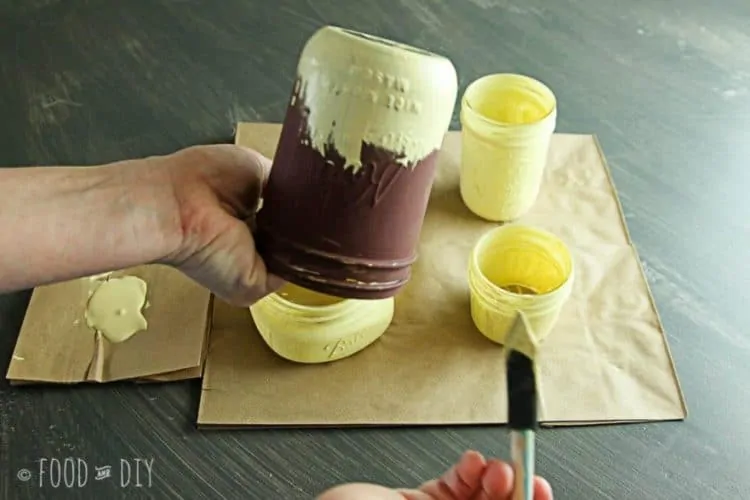
When your jars are painted, set them aside to dry. Chalk paint doesn’t take long at all.
Next, spray your jar lids and rings. If you don’t know how to spray paint watch a youtube video. I know how but I’m not very good at it so no judging! HA!
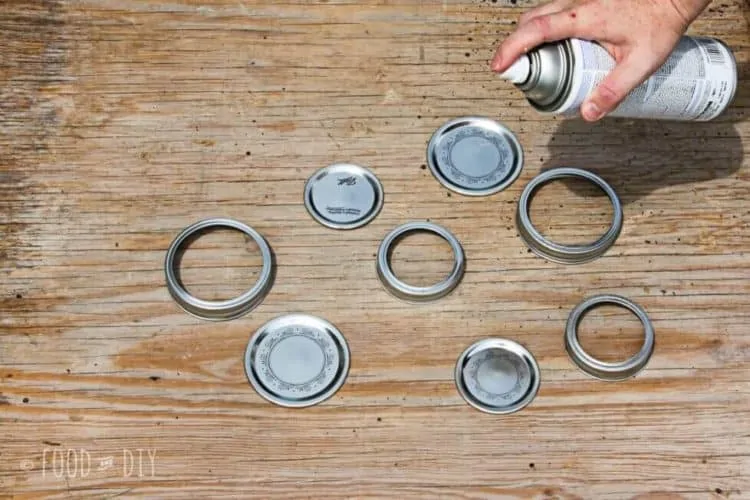
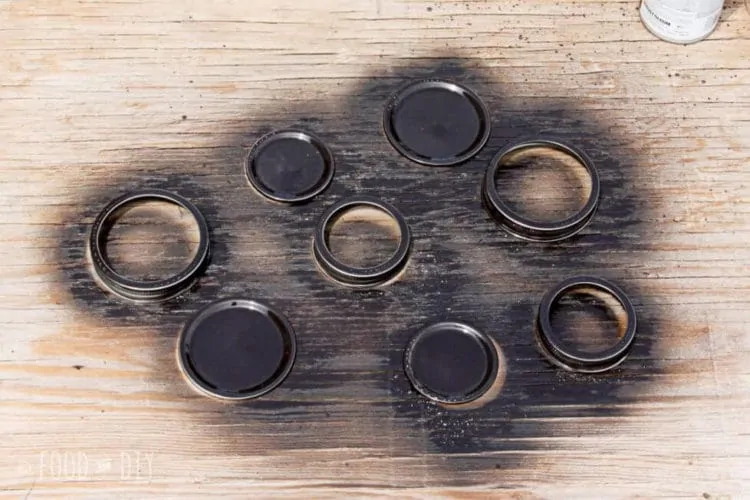
Yeah, see that one lid? BUBBLES galore. UGH. If that happens you can sand them off and re-paint but I realized that I didn’t even need my lids about this time during this project. 😳
After all your paint has dried, assemble your jars and rings. You can also take some fine grain sandpaper and rough up the edges to give the jars a more rustic worn look.
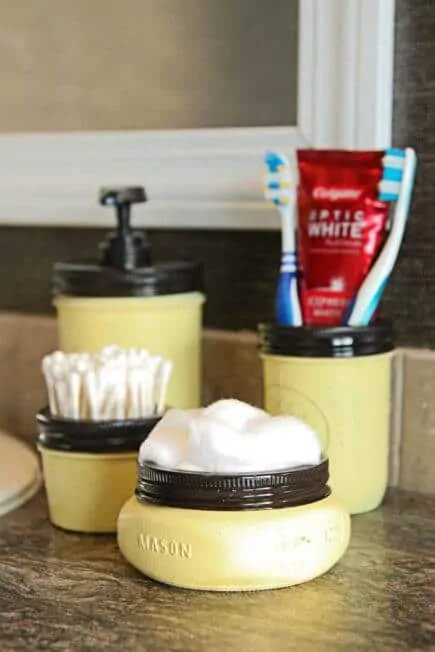
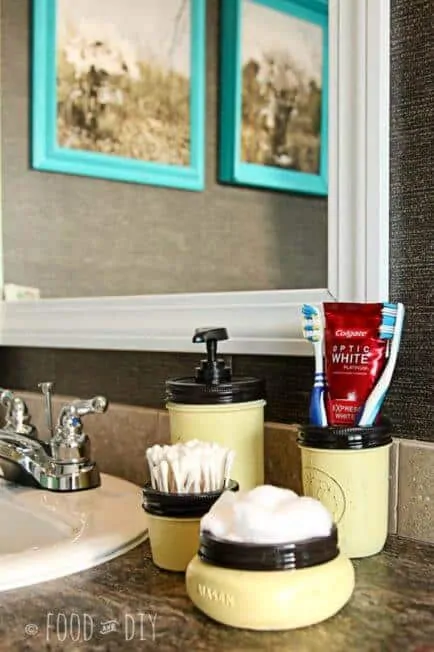
What do you think? Would you try this DIY project? Let me know in the comments below ↓.
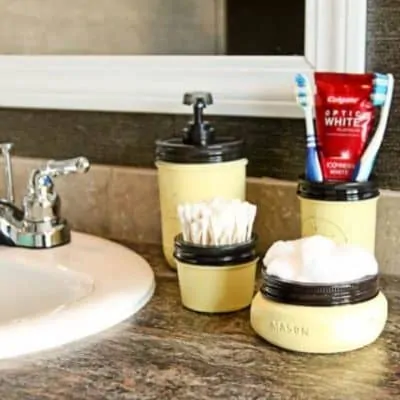
Mason Jar Bathroom Set
Equipment
Ingredients
- Spray paint for the rings I used oiled rubbed bronze
- Chalk paint for the jars I used a color from hobby lobby, I don't have the name
- Sponge brushes
- 4 mason jars with metal rings lids I used 4 different sizes
- Paper or something similar to protect your surface while you are painting.
Instructions
- Lay your paper down to protect your surface. Squirt a bit of paint onto the paper.
- Apply the paint uniformly to the jars. I started on the bottom and using long even strokes, brushed toward the top. Then I went around the jar threading.
- The chalk paint covers well so it didn't matter that one of my jars had been previously painted.
- When your jars are painted, set them aside to dry. Chalk paint doesn't take long at all.
- Next, spray your jar lids and rings. If you don't know how to spray paint watch a youtube video. I know how but I'm not very good at it so no judging! HA!
- After all your paint has dried, assemble your jars and rings. You can also take some fine grain sandpaper and rough up the edges to give the jars a more rustic worn look.
Save for later!
Pinning for later or sharing this recipe with your friends is so appreciated!
Simply click the share button of your choice over on the left ←.
Other bathroom posts you might like:

