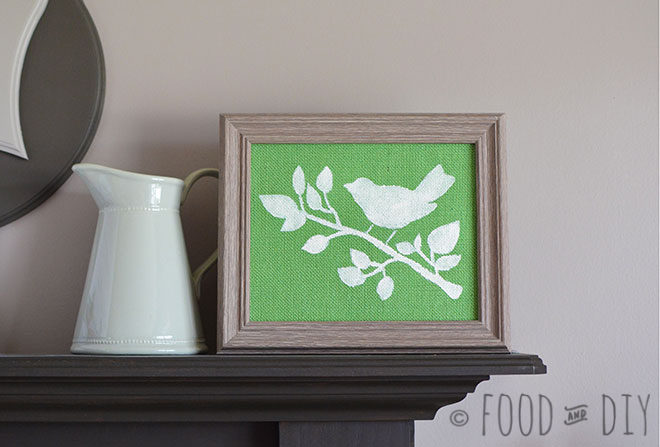
Spring Bird Stencil DIY
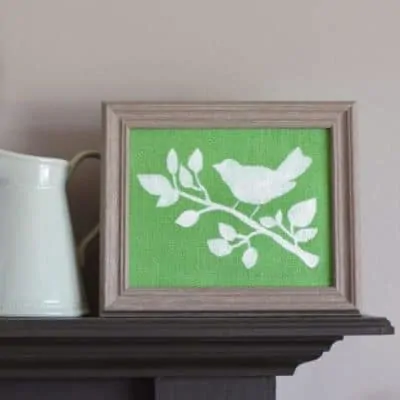
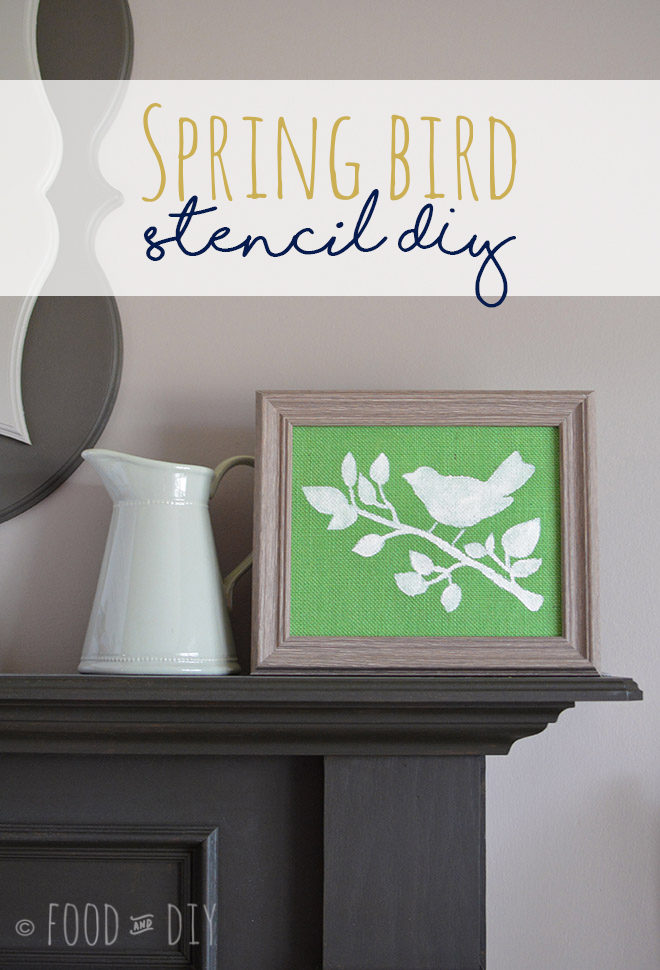
This Spring Bird Stencil DIY is SO FUN. This would be a GREAT activity for kids!! Plus a great way to change up your decor seasonally!
How adorable is this? There are SO MANY options and varieties that you can make with this fun DIY idea!! It’s so simple but so beautiful! I love it!
This Spring Bird Stencil DIY would make a GREAT inexpensive gift for Mother’s Day (coming up soon!), birthdays, or just because!
This idea would also be great for kid’s rooms too! Well, really any room depending on your stencils!
If you like this recipe you might want to sign up here —> https://landing.mailerlite.com/webforms/landing/w9m3x9 so that you don’t miss any new recipes!
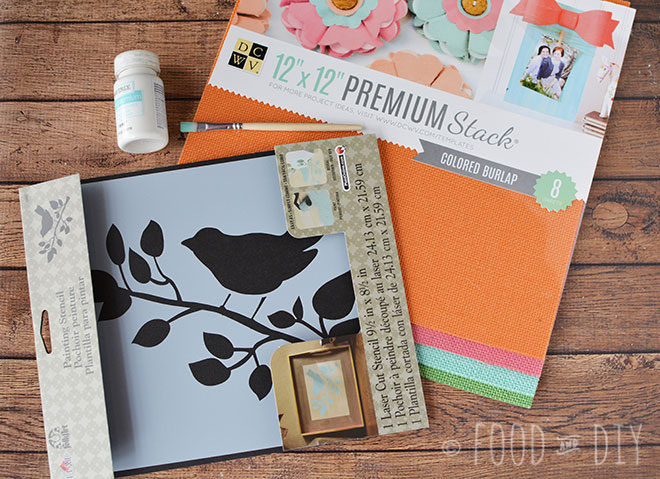
What you need to make this Spring Bird Stencil DIY:
- Bird Stencil – this one is the Plaid/Folk Art Stencil 30601
- Burlap Paper – I used DCWV Colored Burlap 12×12 Premium Stack Scrapbook Paper
- White Acrylic Paint -I used Waverly Super Premium High-Performance Semi-Gloss Paint in Plaster (color)
- Paint Brush
- Scissors
- Ruler
- 8×10 Frame
- Masking or Painters Tape
How to make Spring Bird Stencil DIY:
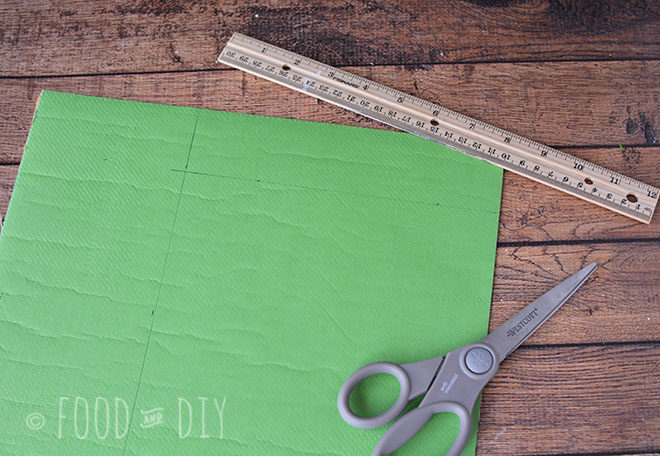
Use your ruler to measure an 8×10 piece of burlap scrapbook paper. Use scissors to cut out the piece.
Center your stencil onto the burlap and attach it with masking or painter’s tape.
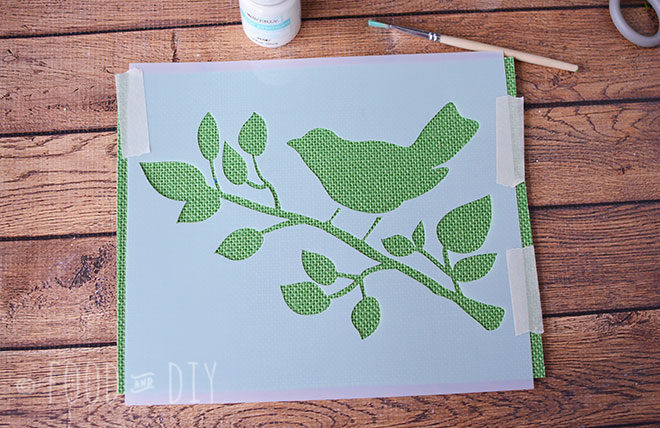
Use white acrylic paint and a paintbrush to fill in the stencil. I like to start in the center of the stencil area and apply paint and “mash” it into the burlap so that it coats the entire burlap texture. I use a little less paint on the edge of the stencil and the burlap so that it does not bleed under the stencil.
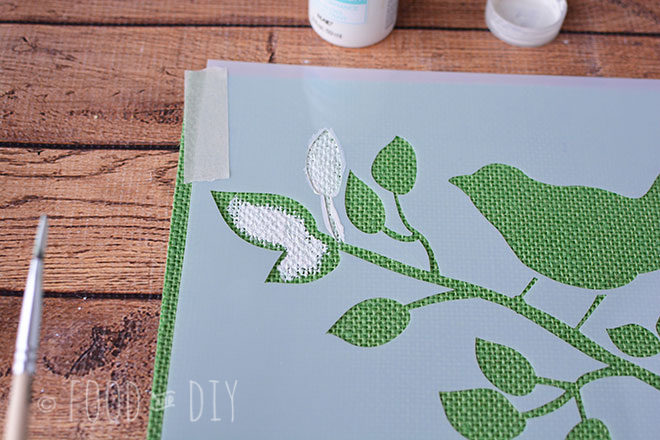
Continue until you have the entire stencil area painted.
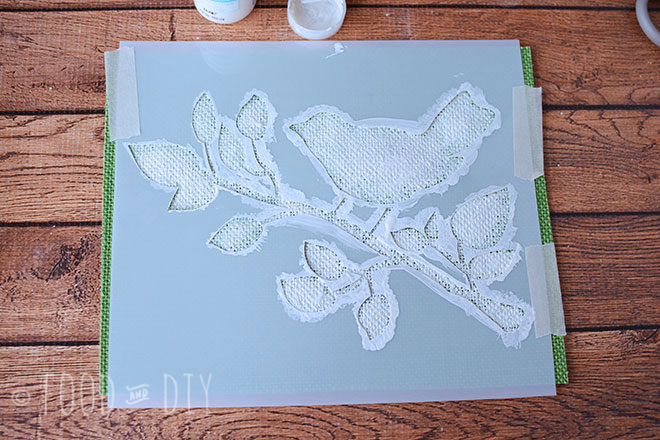
Remove the stencil and let dry completely before putting it into a frame. You can place your bird behind the glass or in front of it. Either way looks great.
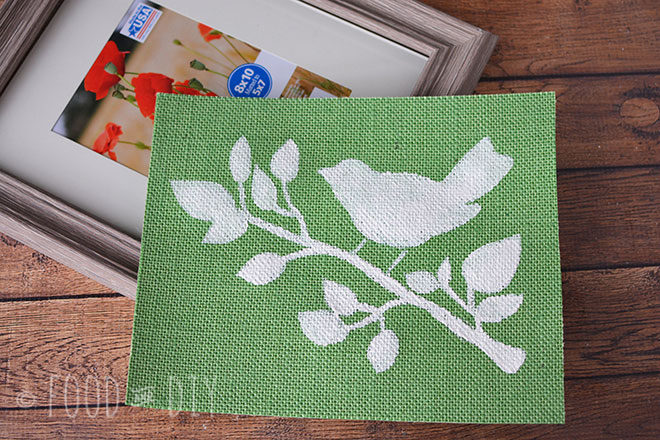
Wash your stencil with warm soap and water. And set aside to dry and use again!
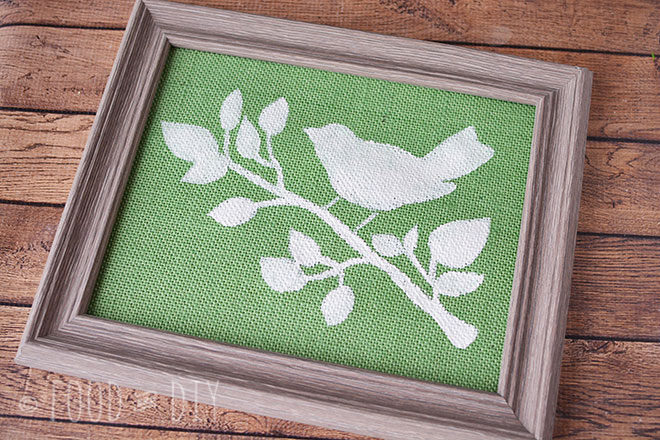

Spring Bird Stencil DIY
Equipment
Ingredients
- Bird stencil this is the Plaid/Folk Art Stencil 30601
- Burlap paper this is DCWV Colored Burlap 12×12 Premium Scrapbook Paper
- White acrylic paint Waverley Semi-gloss in Plaster
- Paintbrush
- Scissors
- Ruler
- 8×10 Frame
- Masking or painters tape
Instructions
- Use your ruler to measure an 8×10 piece of burlap scrapbook paper. Use scissors to cut out the piece.
- Center your stencil onto the burlap and attach it with masking or painter's tape.
- Use white acrylic paint and a paintbrush to fill in the stencil. I like to start in the center of the stencil area and apply paint and "mash" it into the burlap so that it coats the entire burlap texture. I use a little less paint on the edge of the stencil and the burlap so that it does not bleed under the stencil.
- Continue until you have the entire stencil area painted.
- Remove the stencil and let dry completely before putting it into a frame. You can place your bird behind the glass or in front of it. Either way looks great.
- Wash your stencil with warm soap and water. And set aside to dry and use again!
Save for later!
Pinning for later or sharing this recipe with your friends is so appreciated!
Simply click the share button of your choice over on the left ←.
Other bird DIY projects you might like:

[…] that’s too expensive! Just temporarily cover something you already have in a frame with this Spring Bird Stencil. It’s easy to make and will add a fun pop of color to your […]
That is so cute and a great way to change out your decor for different holidays or seasons!