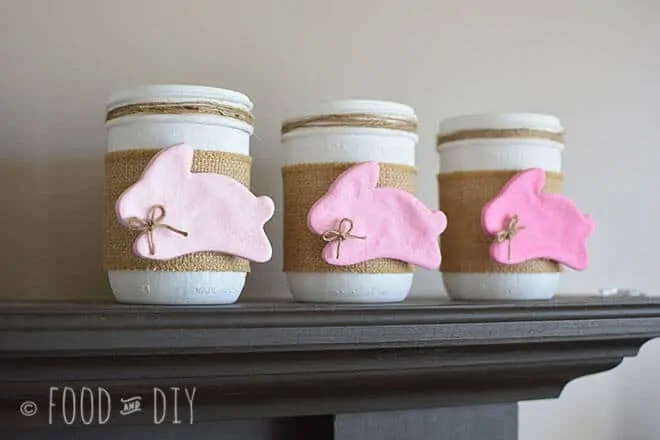
DIY Bunny Mason Jar Spring Decor
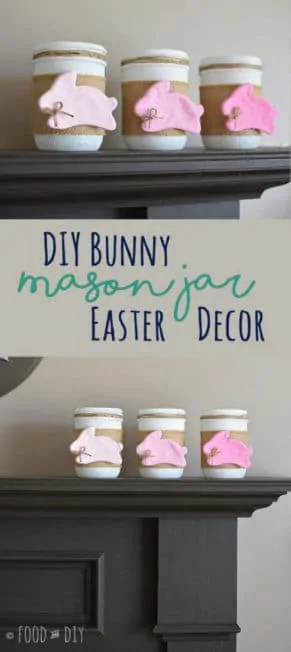
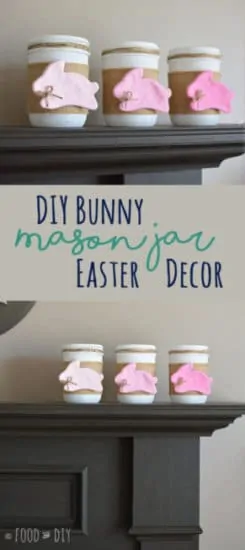
This ADORABLE DIY Bunny Mason Jar Spring Decor is SO CUTE and SO EASY!! Plus the idea is EASILY customizable to any season or holiday!!
I for one am thrilled that Spring is here. Usually, I prefer winter to hang around a bit but this year I am ready for sunshine and warm temperatures. The fact that we bought a new house and I have a gorgeous new kitchen might have something to do with that. We’re still waiting for them to put the finishing touches on the house and then we will be in! I have been ITCHING to cook and create in the new place!
But for now, I’ve got a few posts lined up for ya to enjoy!
If you like this post you might also like my Bandana Wreath Tutorial.
I have always decorated for fall and Christmas but never spring. Spring has not been my favorite season because of allergies. I tend to sneeze from about March 1st to June 1st and often I’m miserable. But this year is different, maybe it’s just because I don’t like the dreary days of winter much anymore or the new house or something. I love the idea of having cute seasonal decor that is easily changed out from month to month.
If you like this recipe you might want to sign up here —> https://landing.mailerlite.com/webforms/landing/w9m3x9 so that you don’t miss any new recipes!
Here is what you need to make this adorable Bunny Mason Jar Craft
For bunnies:
- 1 cup flour, plus additional for rolling
- 1/2 cup salt
- 1/2 cup water
- Easter bunny or rabbit cookie cutter
- white acrylic paint
- pink acrylic paint
For jars:
- 3 mason jars, 16 oz wide mouth
- chalk paint
- hot glue
- 2.5″ wide burlap ribbon
- twine or jute rope
Directions for the Bunnies:
- Make a salt dough by mixing together flour, salt, and water in a bowl until a ball forms. Remove dough from bowl and knead on a floured surface, adding a little more flour as you go until the dough is no longer sticky about 3-5 minutes.
- Roll dough to 1/4″ thickness on to a lightly floured surface and use a cookie cutter to cut bunny shapes.
- Place shapes onto a foil-lined baking sheet.
- To dry the bunny, bake it in an oven at 325 degrees for about 30 minutes. Be sure to check the bunnies after 15 minutes. Sometimes the dough will bubble up, if that happens, put on an oven mitt and flatten the dough. The salt dough will begin to brown slightly when dry. Remove from oven and cool completely.
- You can also air-dry your salt dough. This can take 2-3 days and after the first day, I like to flip my bunnies over on the foil to ensure even drying.
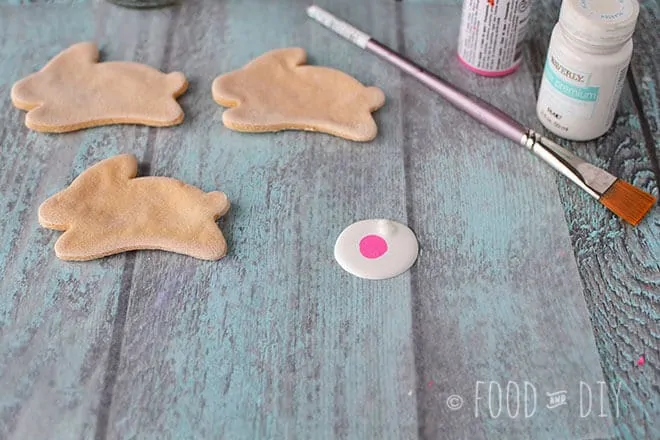
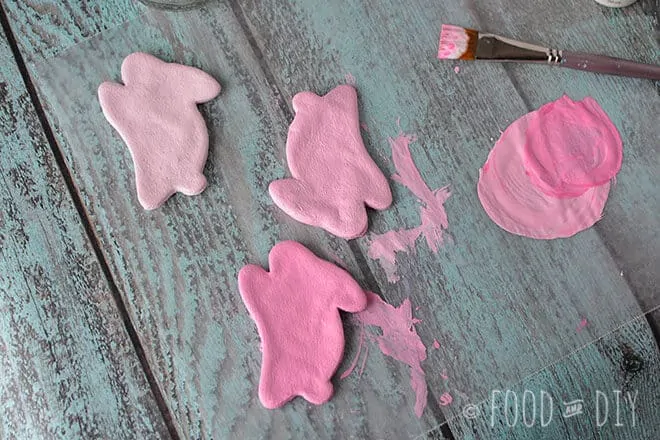
- When bunnies are dry, paint them! I started with a very light pink, by using a dollop of white paint and a tint of pink mixed with it. I then add more pink to the same paint and mix well and paint another bunny. And finally, for the darkest bunny, I add more pink to the paint, mix, and paint. Let dry completely.
Directions for the jars:
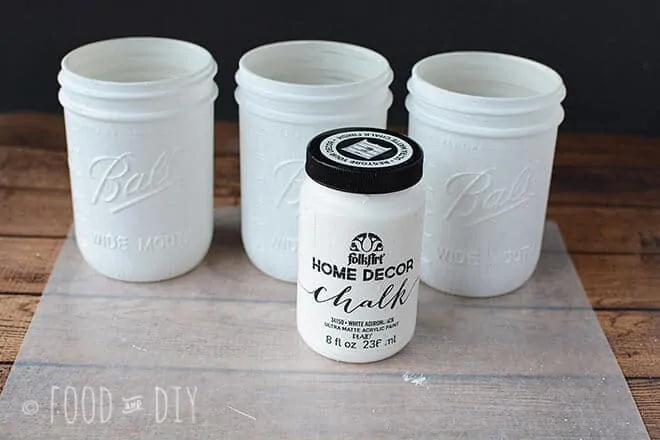
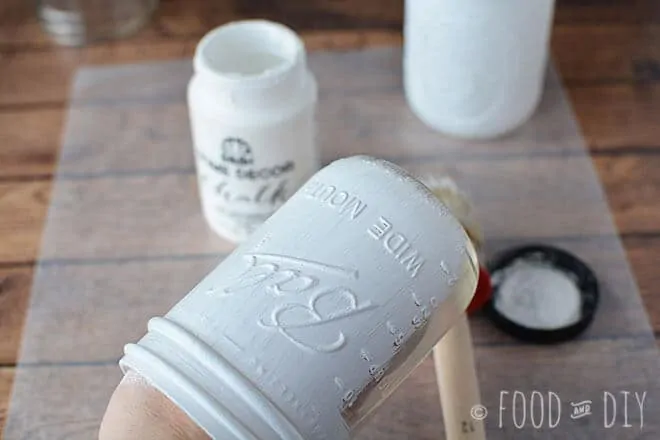
- Wash and dry jars. Use white chalk paint to paint the jars. Let dry completely. I just did one coat as I wanted more of an irregular look.
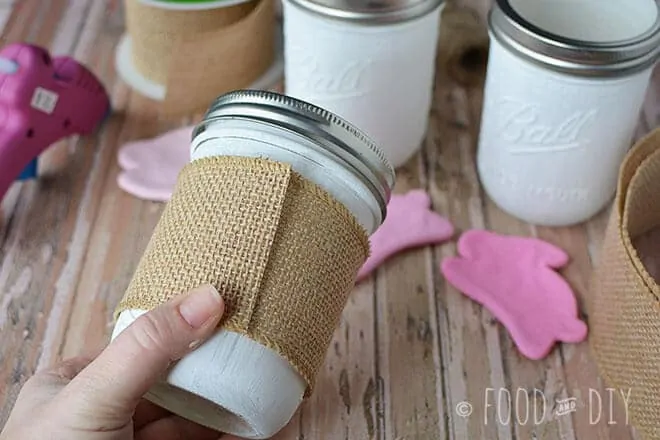
- Trim 3 pieces of burlap ribbon to fit around the jar. Affix to the jar with hot glue in the back, where the two ends meet/overlap.
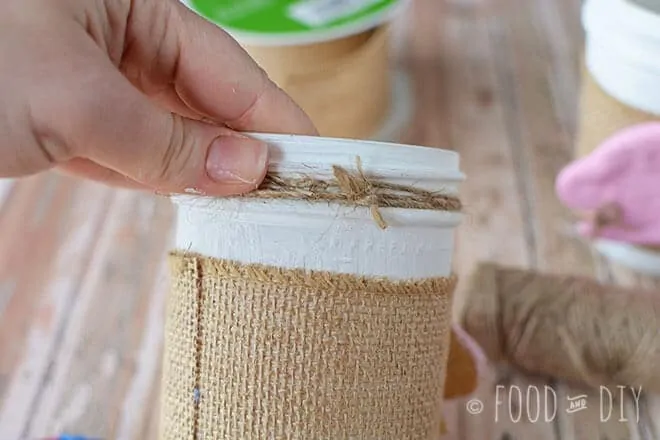
- Tie twine around the top of the jar and double knot it in the back so it’s not visible. I wrapped the twine around my jar 3 times.
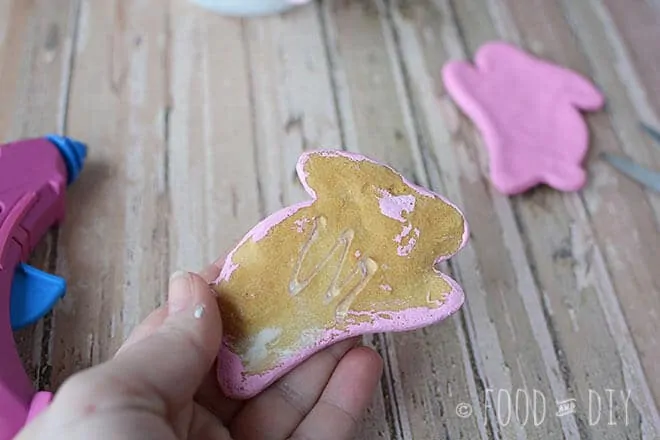
- Use hot-glue to affix the bunny to the burlap on the jar. Tie a teeny bow and attach with a dollop of hot glue to the bunny’s neck. Repeat until you have all 3 jars done.
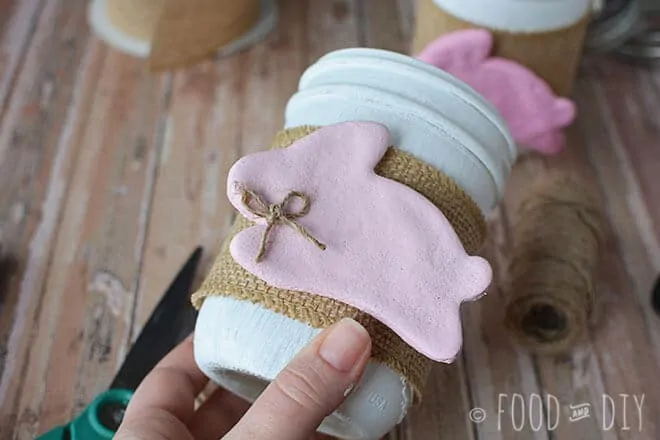
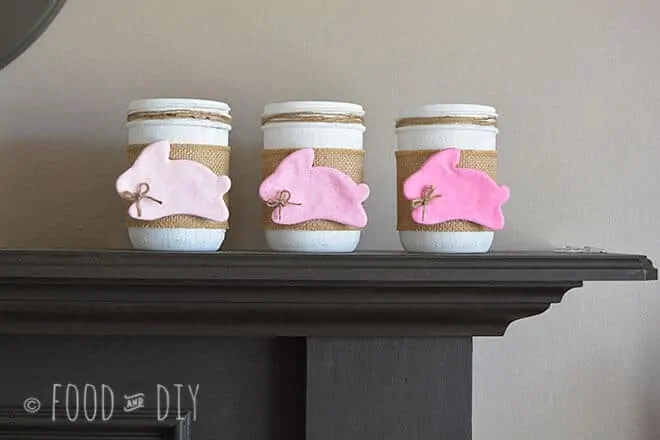
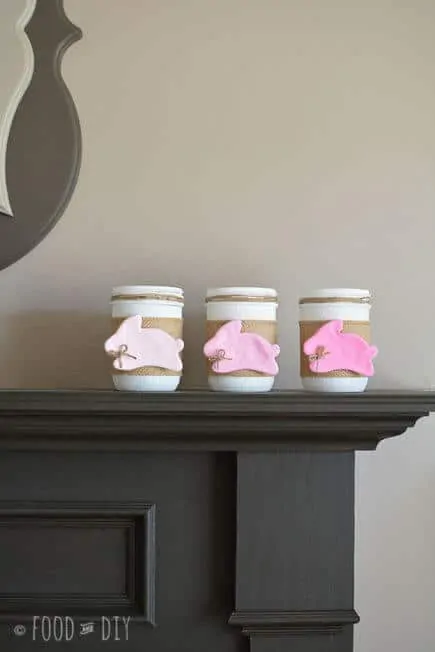
Aren’t these so cute!? Tell me what holiday or season you would make these for in the comments below ↓.
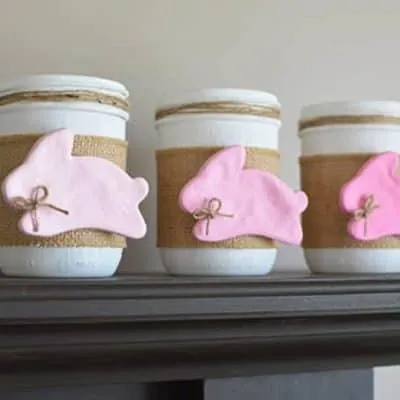
DIY Bunny and Mason Jar Spring Decor
Equipment
Ingredients
For the Bunnies
- 1 cup flour plus additional for rolling
- 1/2 cup salt
- 1/2 cup water
- Bunny or rabbit cookie cutter
- White acrylic paint
- Pink acrylic paint
Jars
- 3 mason jars, 16 oz wide mouthchalk painthot glue2.5" wide burlap ribbontwine or jute rope
- 3 mason jars 16 oz wide mouth
- Chalk paint
- Hot glue
- 2.5" wide burlap ribbon
- twine or jute rope
Instructions
Bunnies
- Make a salt dough by mixing together flour, salt, and water in a bowl until a ball forms. Remove dough from bowl and knead on a floured surface, adding a little more flour as you go until the dough is no longer sticky about 3-5 minutes.
- Roll dough to 1/4" thickness on to a lightly floured surface and use a cookie cutter to cut bunny shapes.
- Place shapes onto a foil-lined baking sheet.
- To dry the bunny, bake it in an oven at 325 degrees for about 30 minutes. Be sure to check the bunnies after 15 minutes. Sometimes the dough will bubble up, if that happens, put on an oven mitt and flatten the dough. The salt dough will begin to brown slightly when dry. Remove from oven and cool completely.
- You can also air-dry your salt dough. This can take 2-3 days and after the first day, I like to flip my bunnies over on the foil to ensure even drying.
- When bunnies are dry, paint them! I started with a very light pink, by using a dollop of white paint and a tint of pink mixed with it. I then add more pink to the same paint and mix well and paint another bunny. And finally, for the darkest bunny, I add more pink to the paint, mix, and paint. Let dry completely.
Jars
- Wash and dry jars. Use white chalk paint to paint the jars. Let dry completely. I just did one coat as I wanted more of an irregular look.
- Trim 3 pieces of burlap ribbon to fit around the jar. Affix to the jar with hot glue in the back, where the two ends meet/overlap.
- Tie twine around the top of the jar and double knot it in the back so it's not visible. I wrapped the twine around my jar 3 times.
- Use hot-glue to affix the bunny to the burlap on the jar. Tie a teeny bow and attach with a dollop of hot glue to the bunny's neck. Repeat until you have all 3 jars done.
Save for later!
Pinning for later or sharing this recipe with your friends is so appreciated!
Simply click the share button of your choice over on the left ←.
Other Spring DIY projects you might like:

[…] Foodanddiy.com […]
Cute!!!
What a cute decoration idea!!
Oh these are just darling! I’m a mason jar junkie!
That is so cute!