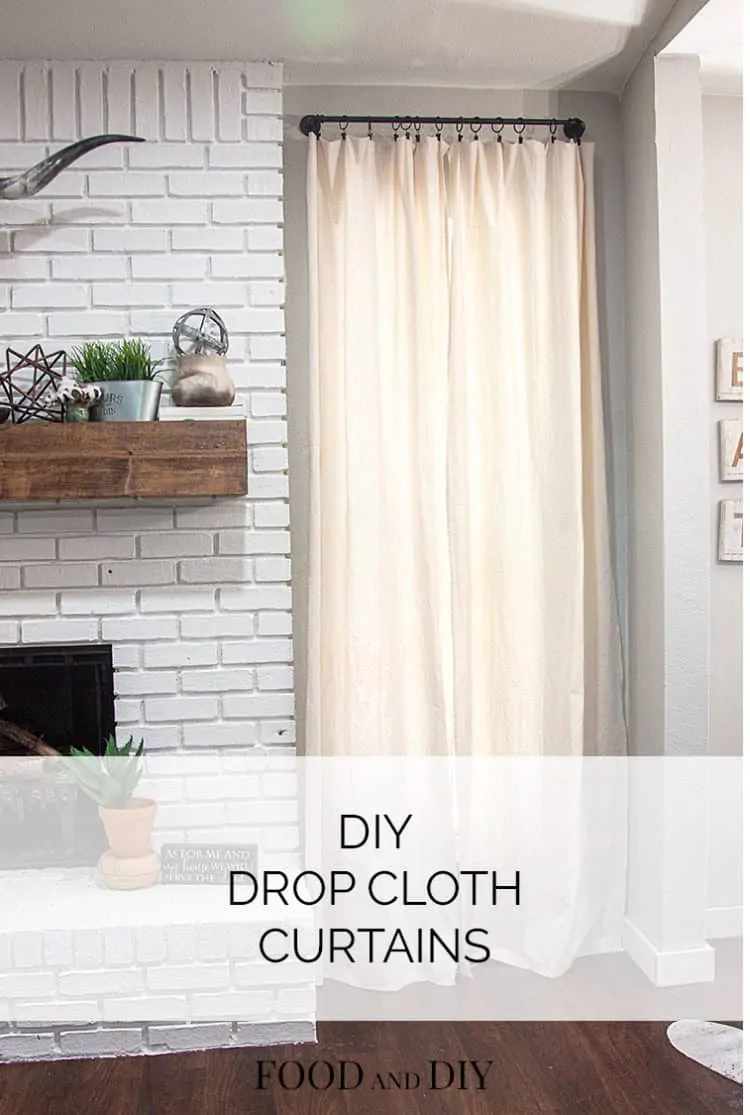
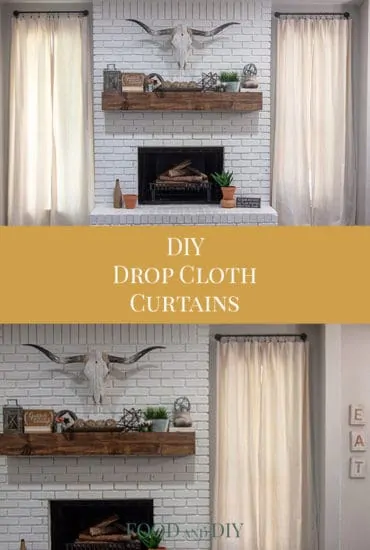
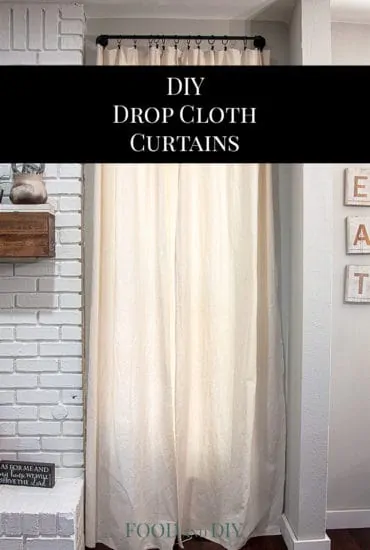
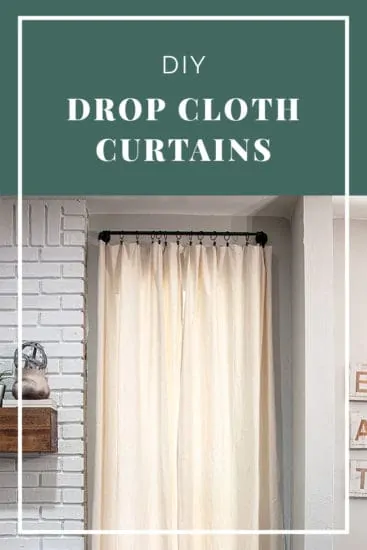
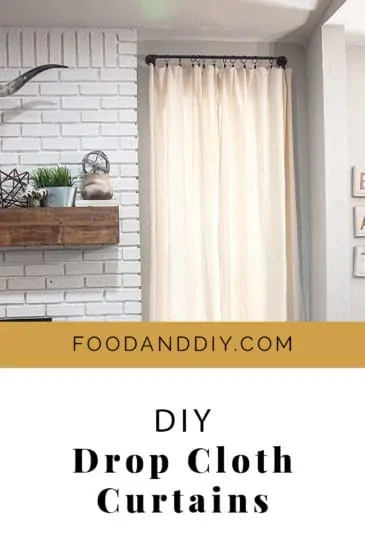
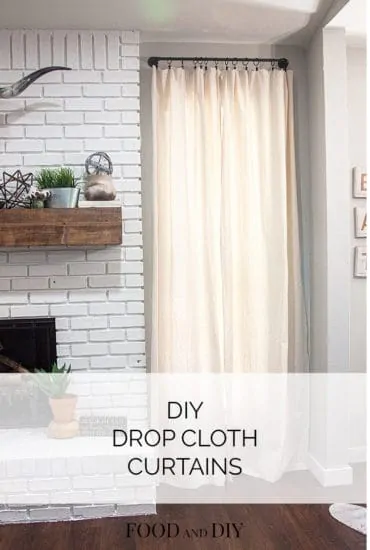
DIY drop cloth curtains are very affordable and a beautiful natural color that is great for lots of different decor styles. BONUS there is NO sewing if that’s not your thing!
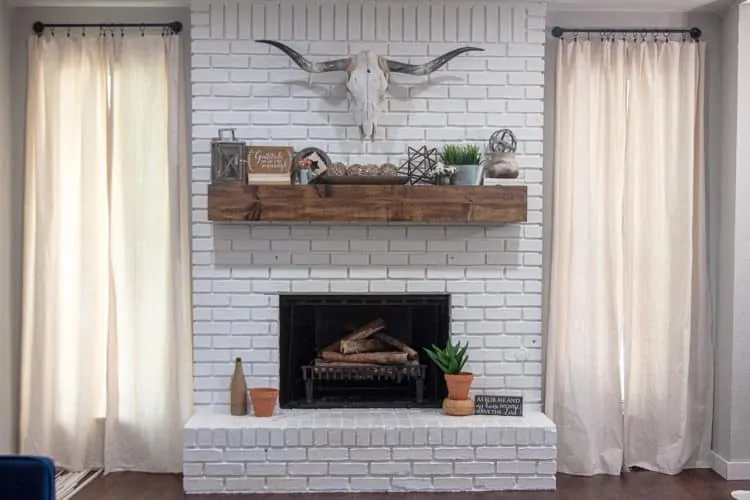
DIY Drop Cloth Curtains
I am not a huge fan of most curtains and window treatments but I LOVE the simplicity and natural look of drop cloth curtains. I love the very nuetral color and that they go with so many different decor styles.
I put drop cloth curtains in all my windows in our fixer upper house except for the kitchen. I wanted to have floor to almost ceiling curtains in all the rooms to make the rooms look bigger. The windows are actually great sized in all the bedrooms, the living room windows are the smallest. But curtain length and placement can make or break your decor and wider/longer help to make your windows and room look bigger.
You can purchase curtains made from material that is similar to drop cloth canvas material but they are much more expensive. Making drop cloth curtains takes measuring, cutting, and liquid stitch. Plus a way to hang them up. It’s really easy to create a pocket to put a curtain rod in, or you can you these clips from amazon.
You can see in the photos I used curtain rods that look like black industrial pipe, with the black clips. I priced using black pipe and fittings from lowes or home depot but then I found these curtains rods on amazon and they were much more cost effective, plus they are super lightweight and using black pipe and fittings were not going to be lightweight.
I bleached my drop cloths 3 times. Once in my top loading washer & twice in large totes sitting outside. My drop cloths didn’t change color at all. I purchased the drop cloths others have suggested to use for bleaching and used generic and name brand bleach, all to no avail. This didn’t bother me at all, I love the natural canvas color. But if you ware wanting a truer white, you might need to do some checking around on that.
Don’t miss the progress on our fixer upper! Sign up here —> CLICK HERE to stay up to date!
How to make drop cloth curtains:
Measure your windows and determine what size curtains you want. My living room window is 24″x70″. I purchased a 6×9 drop cloth from Amazon. I wanted my curtains to go from floor to really close to the ceiling. So I cut my 6’x9′ drop cloth in half on the 6′ side. So now I have two pieces of drop cloth 3’x9′.
I then used liquid stitch to hem the edges of the drop cloths on the cut sides..
I then folded the top of the curtains over about 3-4 inches and clipped the drop cloths with the clips on the curtain rods. My curtain rods are set 4 inches on each side of my window opening, and 4 inches above the top of my window opening.
I used this same idea on all my windows. You can get several different sizes of drop cloths on amazon for any size window.
If you like this post you might want to sign up here —> CLICK HERE so that you don’t miss any new recipes or DIY projects!
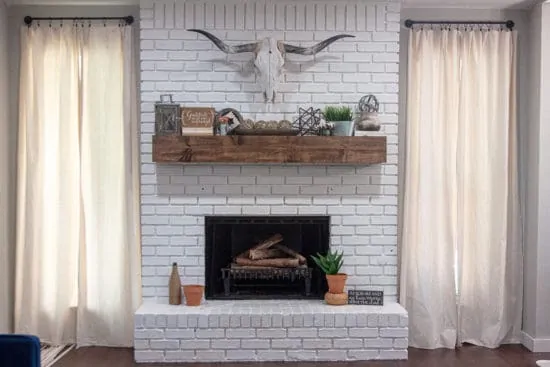
DIY Drop Cloth Curtains
Equipment
- Liquid Stitch
Ingredients
- 1 6×9 drop cloth per window, (you may also need a bigger drop cloth such as a 9×12)
Instructions
- Wash & dry your drop cloths, they are very stiff out of the package.
- If the drop cloths are too wrinkly to work with, steam or iron them.
- Lay the drop cloths out all the way flat. Fold in half lengthwise.
- Cut along the fold of the drop cloth.
- Using your liquid stitch, "hem" the cut edge of the drop cloth.
- Once the liquid stitch has dried, fold over the drop cloth at the top, however much needed for the length you want.
- Clip the drop cloths and then steam to get the rest of the wrinkles out.
- You can also trim the folded over excess if you like once you have your length the way you want it.
Notes
Save for later!
Pinning for later or sharing this recipe with your friends is so appreciated!Simply click the share button of your choice over on the left ← or down below ↓.
