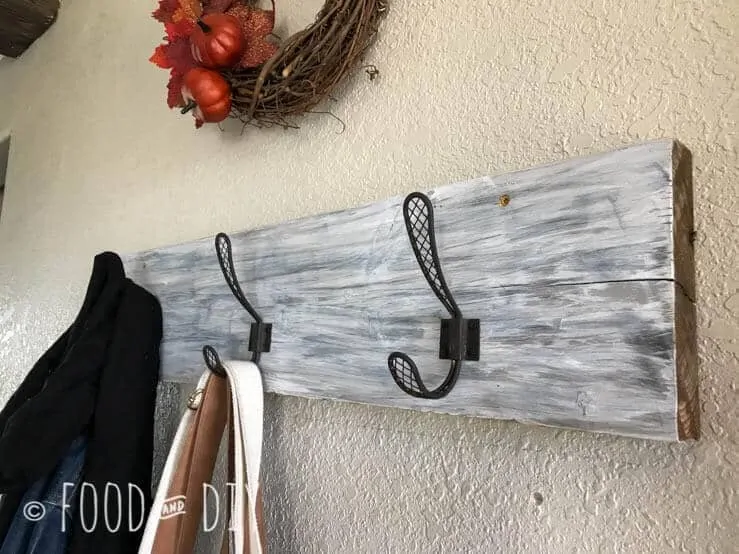
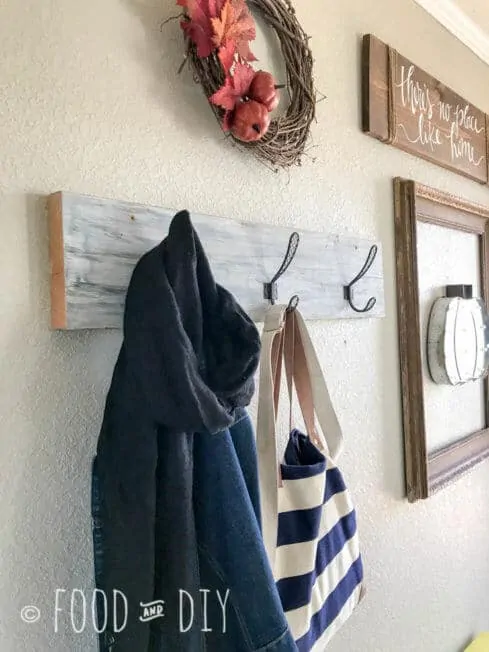
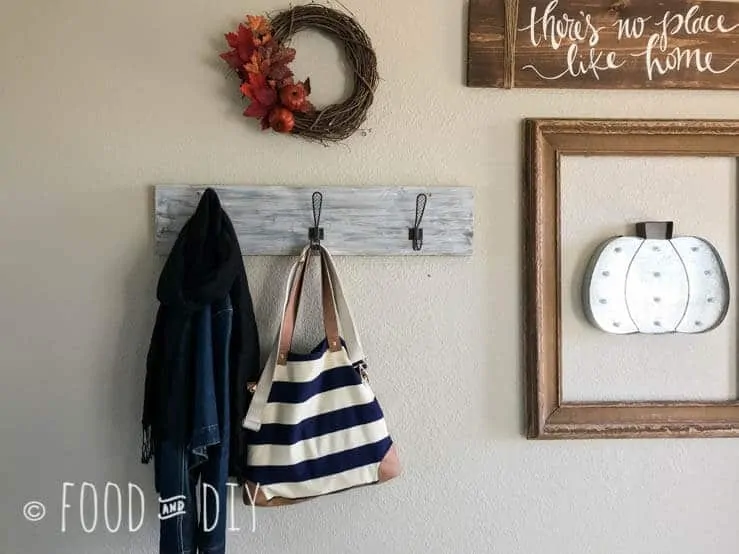
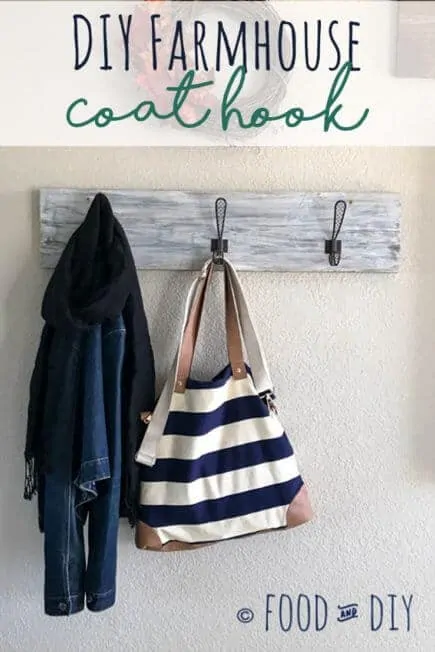
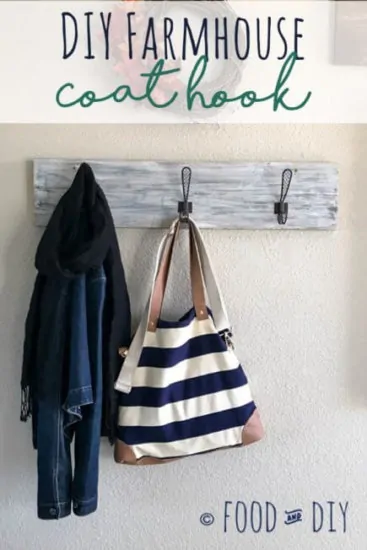
This DIY Farmhouse Coat Rack can be made in ONE day and adds adorable farmhouse flair to your entryway or mudroom!!
We’ve been in our new house for about 6 months now and I am still madly in love with it!! It’s definitely still not completely set up the way I want it (as far as inside decor), but that’s the fun of a new house.
This house has an entryway, the previous house did not. I knew that I wanted to find some cute ways for our entryway to be functional, but not cluttery or congested.
Since it’s fall now, I know that we will slowly start to wear more jackets and coats and it really is easiest for everyone to grab their jackets while walking out the door. That’s why this DIY Farmhouse Coat Rack is perfect for our entryway!
I did want to make sure that I had a coat rack that would also be strong enough for the kids’ backpacks and my purse. Usually, the kids keep their backpacks in their rooms but just in case I want that option in the entryway as well.
If you like this DIY project you might want to sign up here —> https://landing.mailerlite.com/webforms/landing/w9m3x9 so that you don’t miss any new projects!
How to Make a DIY Farmhouse Coat Rack:
I used a 2×8 piece of lumber my husband had in the shop. This particular piece was cut to about 33 inches. This was a scrap piece of wood leftover from something else. You can make them any size you’d like. I didn’t want the coat rack to take up my entire wall in the entryway so 33 inches was just right for three hooks.
First, though, I painted the piece of wood with some gray paint I had, I didn’t bother with primer because I wanted that rough rustic look.
Next, I used a foam brush and added some darker gray paint.
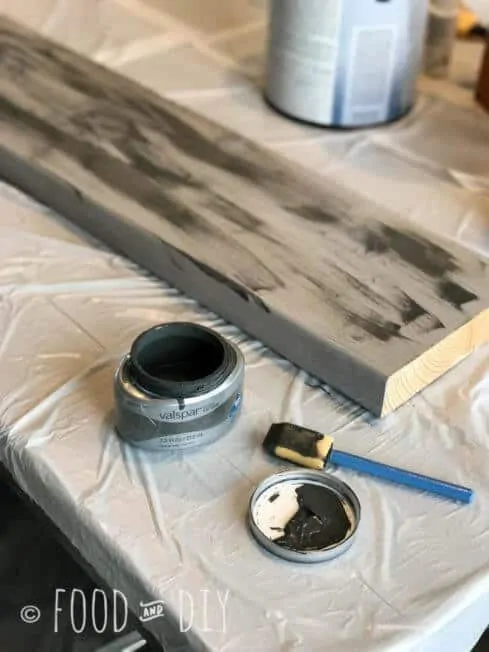
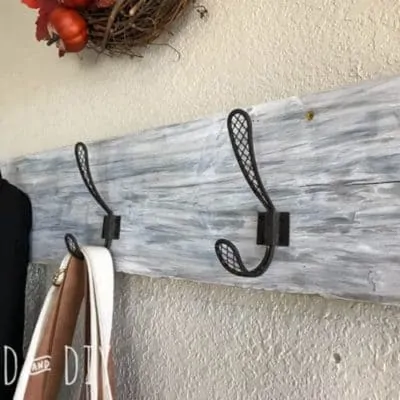
The next step I forgot to photograph (oops!), I put a very small amount of water in a disposable cup and added a small amount of white paint. Then I painted over the top of the wood with the thinned out white paint. Just one coat. I wanted to soften the edges of the dark gray but I still wanted it to show through well. You can see it in this photo.
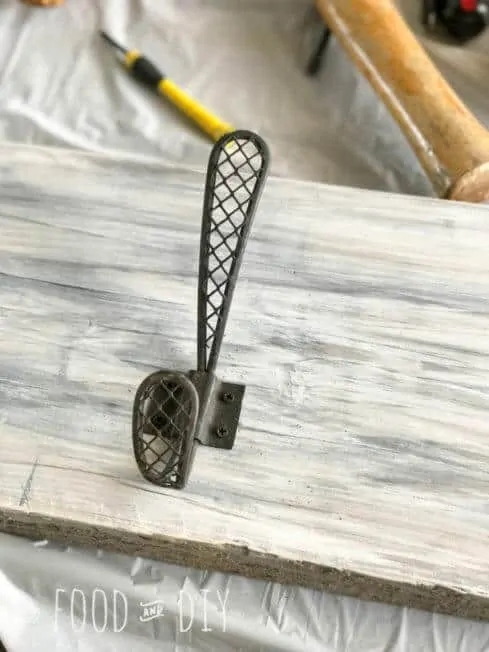
I purchased these hooks at Hobby Lobby. I love the grid, it reminds me of a chicken coop. ☺ They come with the screws to attach them to the wood.
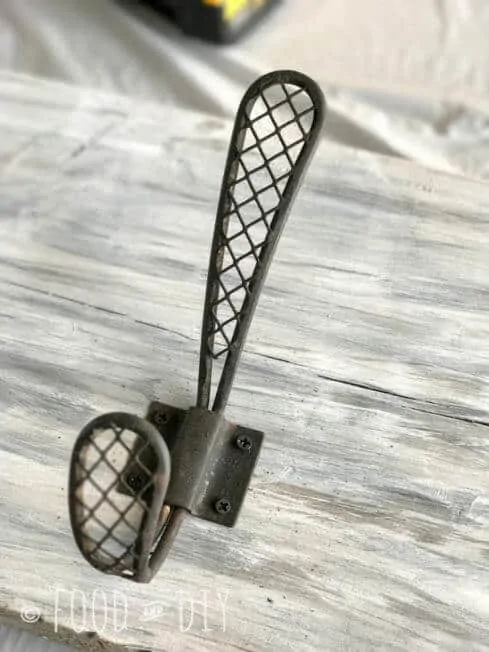
I purchased 3 hooks so it was pretty easy for me to figure out where to put the hooks on the board. I lined the middle one up exactly in the middle of the board. Then I used a measuring tape to mark the other two hooks evenly on each side of the middle one.
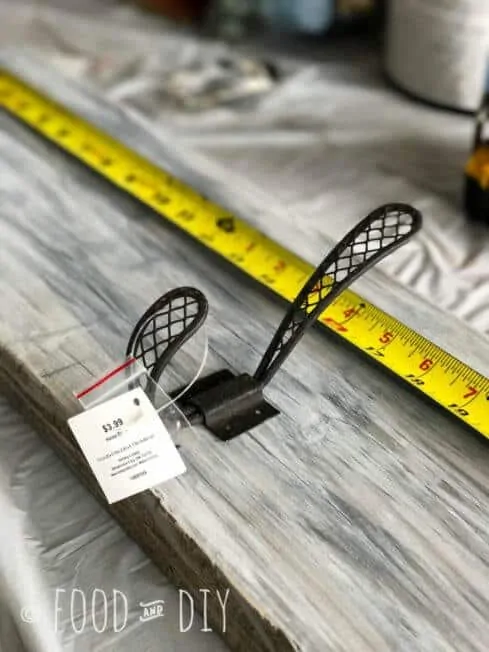
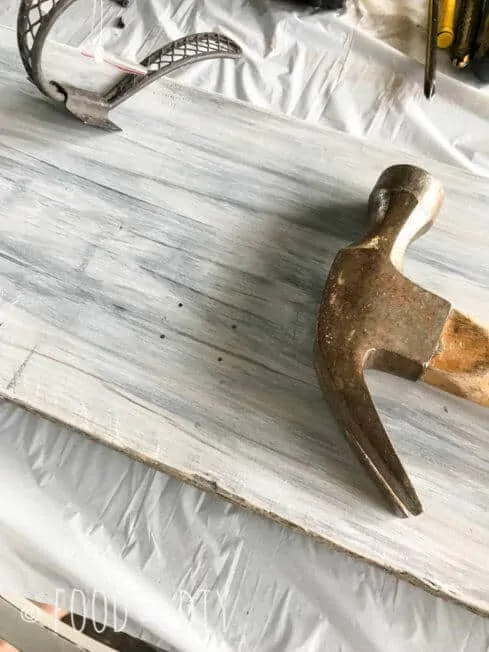
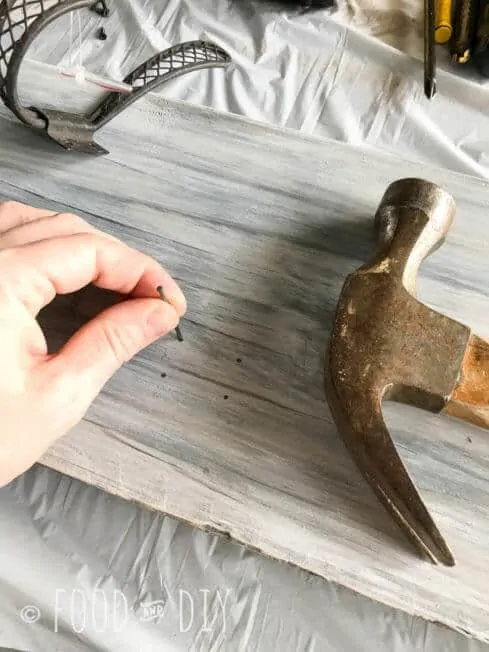
I used a pencil to mark the screw holes, then I used a hammer and a finishing nail to make little indentions. The screws on these hooks are so small I couldn’t use the drill, the finishing nail makes just enough of an indention that I can hand screw the hooks in.
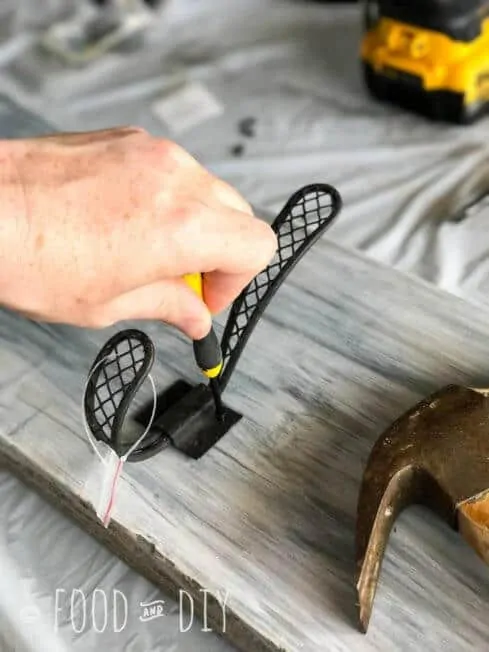
I had originally planned to use picture hanging hooks on the back but my husband decided it would be best to just screw the coat hook straight into the wall, into the studs. He said it would be much more stable and secure that way. You can see the screws toward the top of the wood plank. (I still need to dab some paint on them to blend them in.)
If you like this post, you might also like my post Easy, Mini Watering Can with Flowers Decor Idea.
DIY Farmhouse Coat Rack
Equipment
Ingredients
- 2×8 piece of lumber cut to 33" long
- gray paint
- dark gray paint
- white paint
- foam brushes
- farmhouse hooks
Instructions
- Paint the wood with the gray paint, using a foam brush. Don't worry about priming, this will help with the rustic look.
- Next, use another foam brush and brush on some darker gray.
- Once the gray paints are dry, thin some white paint down and brush on one coat. This softens the edges of the dark gray but it will still show through.
- Using a ruler, line up one of your hooks in the middle, use a pencil to mark where the screws should go. Then measure evenly on either side for the other two hooks. Use a hammer and a finishing nail to make a small indention to make it easier for the screws to be drilled in.
- The screws on these hooks are so small I couldn't use the drill, the finishing nail makes just enough of an indention that I can hand screw the hooks in. Use a drill if your screws are big enough.
- I had originally planned to use picture hanging hooks on the back but my husband decided it would be best to just screw the coat hook straight into the wall, into the studs. He said it would be much more stable and secure that way. The weight of your wood and what you will be using this for should determine if you screw yours in the wall directly or use picture hangers on the back.
Save for later!
Pinning for later or sharing this recipe with your friends is so appreciated!
Simply click the share button of your choice over on the left ←.
Other farmhouse DIY you might like:

What a great tutorial! So simple and gorgeous!