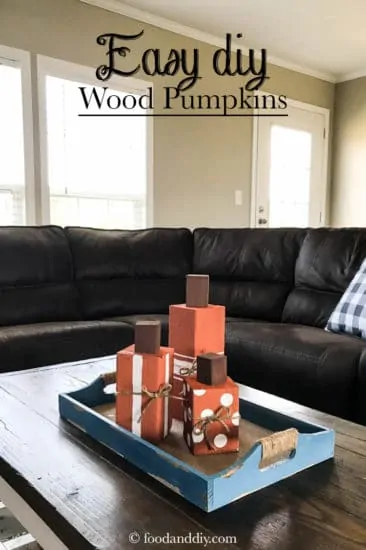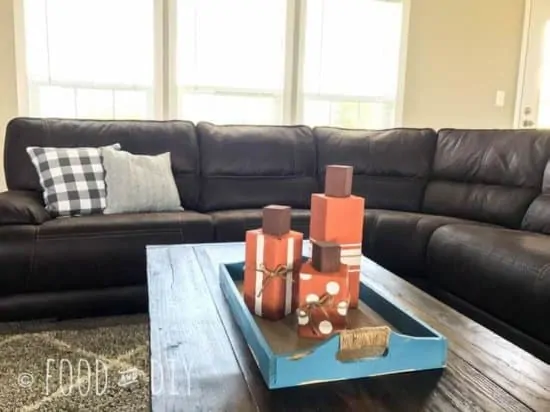
DIY Wood Pumpkins
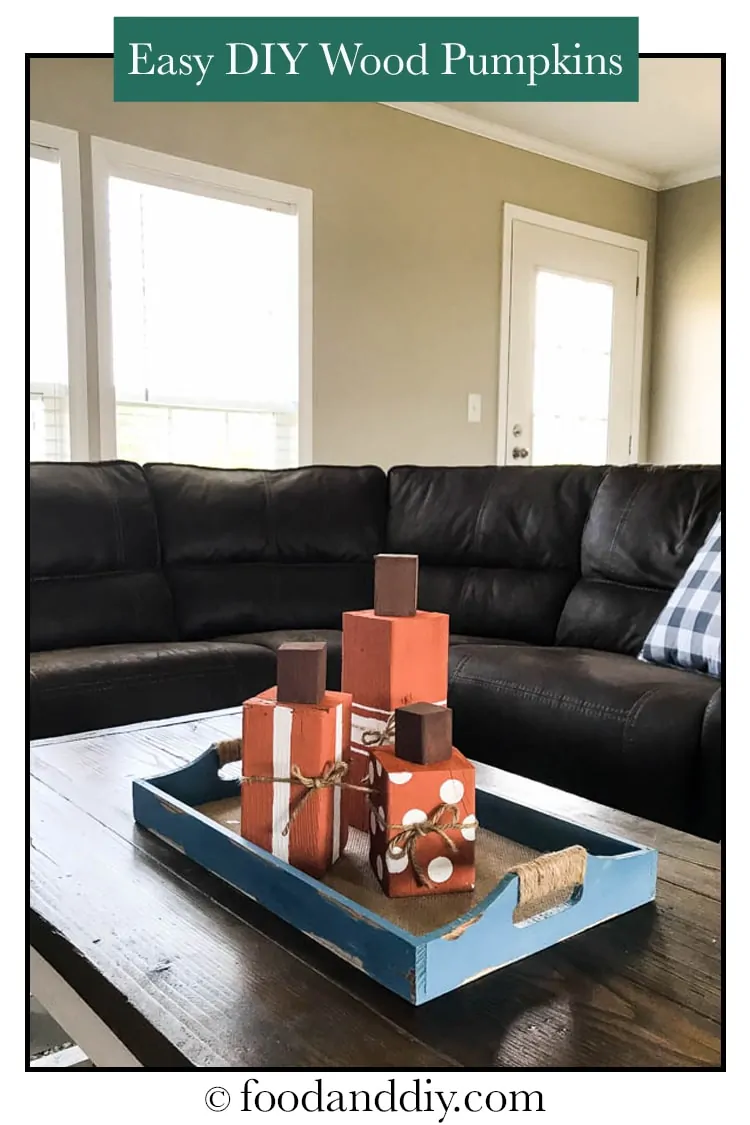
My husband has a huge collection of scrap wood from various projects and great deals he has found locally. The other day I was wandering around our shop pointing out pieces I wanted him to cut for me so I could make some fun DIY fall decorations. He had a 4×4 piece of wood leftover from something and I knew that it was the perfect piece to make these DIY wood pumpkins.
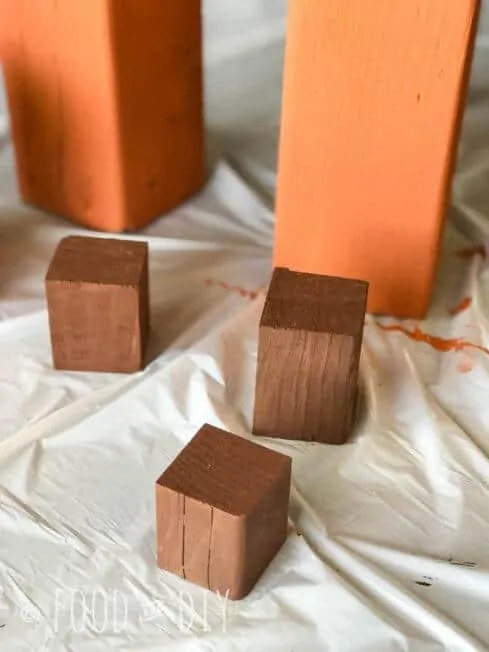
I had him cut the 4×4 into 3 pieces, all different sizes. I have seen square wood pumpkins painted and decorated at a few different stores, one of them was Kirkland’s, but I knew that I could make them at home for much cheaper!
You can use 4×4, 6×6, or 8×8 wood depending on how large or small you want your pumpkins.
If you like this post, you might also like Easy, 10 Minutes Crochet Pumpkin Applique.
How to make Easy and DIY Wood Pumpkins:
- Short – about 5 inches with a 2x2x2 inch “stem” (the stems are also made from a scrap piece of wood cut down)
- Medium – about 7 inches with a 2x2x2 inch stem
- Tall – about 10 inches with a 2x2x2.5 stem
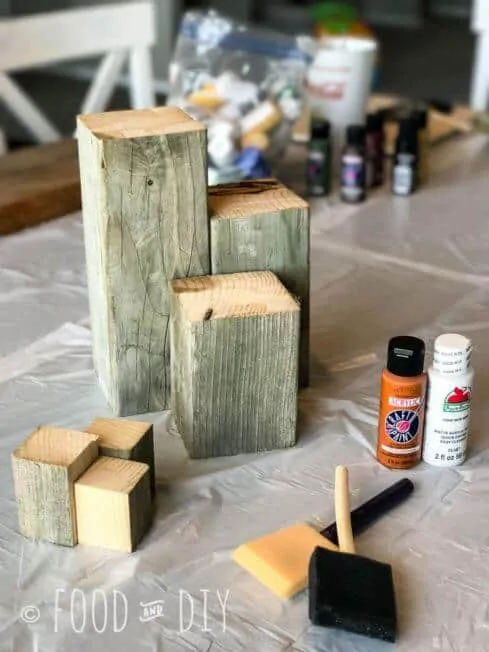
I used acrylic paint for these pumpkins, I like acrylic paint because it’s very inexpensive and it dries really quickly so I can get my project done quickly.
Be sure to cover your surface with something before you start! Empty trash bags, brown packing paper, old newspapers (does anyone even have actual newspapers anymore?!)
I used foam craft paintbrushes. Since these pumpkins are made with scrap wood they are meant to look rough and not perfect. I put on one quick coat of orange paint. This orange is Terra Cotta by Anita’s from Hobby Lobby.
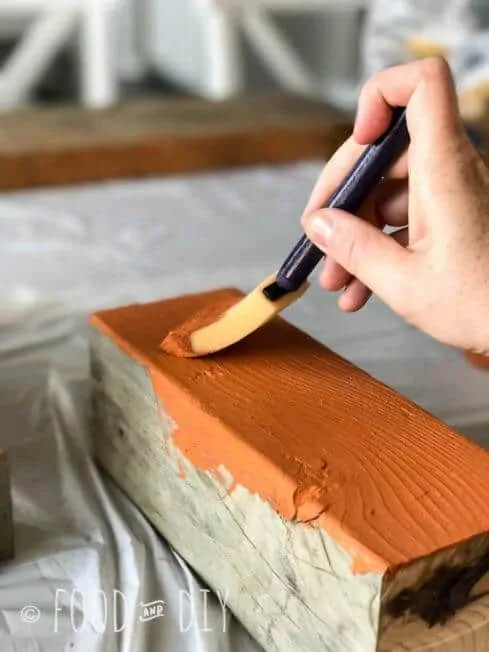
Paint all the sides of the wood pieces, I forgot to paint the tops until the end! Oops! I also forgot to take a photo when I was painting the stems brown.
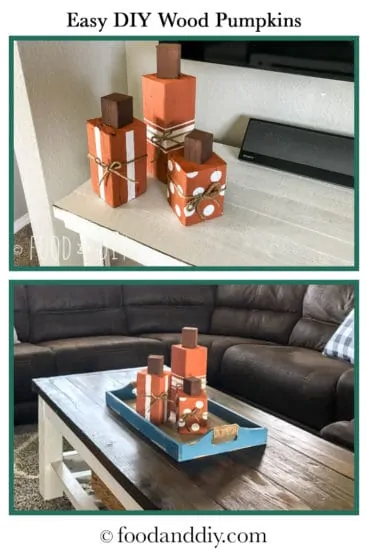
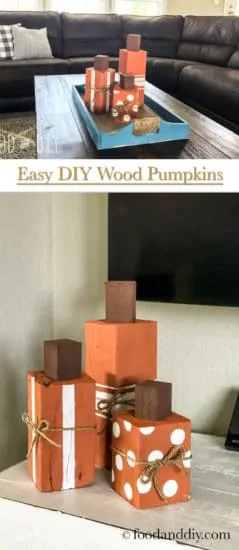
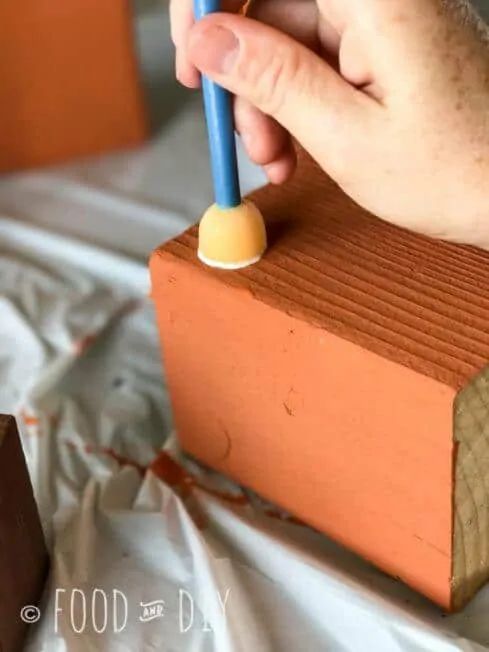
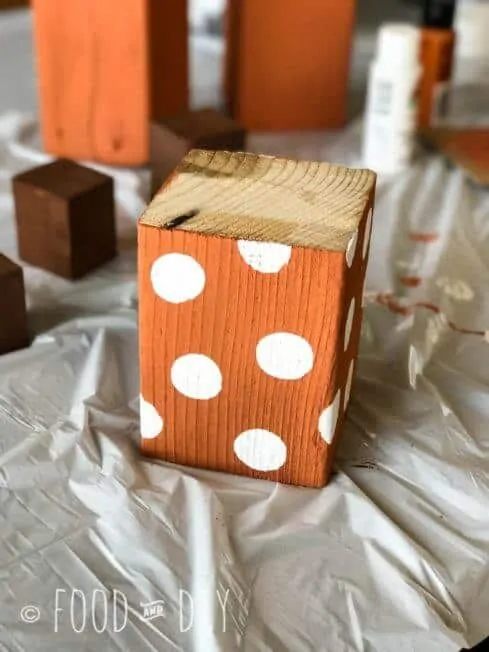
Now use white paint (not sure the exact name of this one but it is a bright white) to decorate your wood pumpkins. I used one of those round foam craft brushes to make polka dots on my short wood pumpkin.
Next, I used a thinner foam brush to paint a stripe vertically down the middle of the medium wood pumpkin.
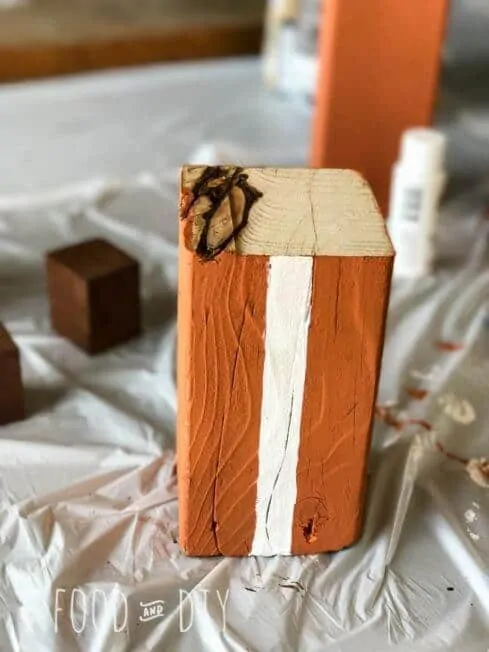
The tallest wood pumpkin I used the same foam brush to paint a line horizontal line in the middle and then I used the very tip of the foam brush to paint a thin line on either side of the thicker white line.
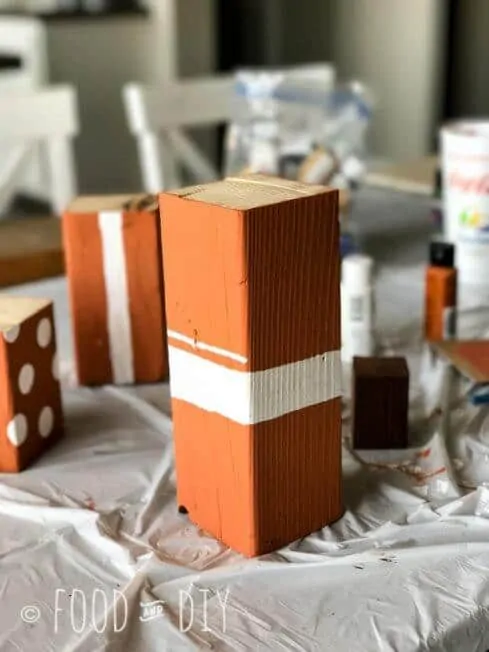
Lookin’ pretty good right? Now you could stop here and display them like this. Or you can tie some rattan twine around the middle in a bow for an added cuteness.
Save for later!
Pinning for later or sharing this recipe with your friends is so appreciated!
Simply click the share button of your choice over on the left ← or down below ↓.
